Sunday, March 24, 2013

Before & After

I've lost 50 pounds in 11 months & have 30 more to lose but lately I feel like I've just hit a wall.  I work out and eat healthy nearly every day but feel like nothing is working so I decided to do a little before and after comparison.. holy fat girl slim!  I can notice a HUGE change in my face and seeing the difference really gives me the motivation to keep on keepin' :)

The photo on the left was taken 11 months ago and the photo on the right was taken 4 days ago! 

I know taking pictures before can be so embarrassing but I really suggest it because there is nothing better than actually seeing the difference your hard work and effort makes!

I've posted other blog entries on tips on how I've lost the weight and you can follow me on Instagram at:
amanda_cervantez
for occasional recipes, tips, motivational quotes, and updated pics!!

xoxo

Tuesday, February 26, 2013

Lose It!


I had a little inspiration from a Pinterest project I had seen using marbles to track your weight loss so I decided to switch it up a little!  I filled a vase with 45 M&M candies- one M&M for each pound I want to lose so every time I lose a pound I get to eat a little candy until they're all gone!! 

I lost 3 pounds this week so I'll be eating 3 M&Ms! 


I like that this actually allows me to visualize my weight loss and see that I am losing weight, even if I don't always see it physically! Plus, 45 M&Ms definitely doesn't look like a lot in a vase :)!
xoxo

Motivation: I'm just tired of being fat!

Hey ya'll!! I've been so neglectful here but hopefully that'll be changing!!

My motivation to first lose weight came from wanting to look great in my wedding dress.  I must say, I felt and looked wonderful on our wedding day!  Our photos are beautiful and there is nothing I would change!!

After our wedding passed, I found it hard to stay motivated to work out.  I just couldn't get myself motivated to work out and eat right the way I was for our wedding so I slowly started gaining the weight back.  I was gaining the weight I had worked so hard to lose until it hit me that I'm just tired of being fat. I'm tired of having my stomach roll over my jeans when I sit.  I'm tired of feeling like I look pregnant.  I'm tired of my old, cute clothes not fitting. I'm tired of it!! So my motivation is simply coming from the fact that I'm tired of being fat and it's not going to go away unless I'm doing something about it!!


I really think I'm working out harder now than I was before our wedding!  I love swimming and that was my usual form of exercise leading up to the wedding, but now that it's cold out, I hate jumping into the pool for a workout so I've been doing lots of elliptical running, stationary biking, and stair stepping!

I actually instagram my workouts [you can follow me on instagram at: amanda_cervantez] just to keep track for myself and to also motivate others so here's some of what I've been doing:


I started working out consistently 4 weeks ago by running on the elliptical 5 miles every day.  This takes me anywhere from 45-55 minutes.

On the second week of working out, I added to the 5 miles by doing an hour yoga, Zumba, or cycling class every night after my 5 miles.  (here I did my 5 miles and then yoga) 


The 3rd week I wanted to add again so I would run 5 miles, do a class every M, W, F but also started biking 10 miles after my 5 mile elliptical run.  Usually I would do my 5 and 10 miles in the morning and then do an hour yoga, Zumba, or cycling class at night.  It takes me about 45 minutes to bike 10 miles. Here's a shot of my 5 miles and 10 mile bike: 


This week I added to my 5 miles and 10 mile biking by doing a 2 mile stair step.  It takes about 30 minutes to complete the stair step.  I also attend a 1 hour yoga, Zumba, or cycling class every Monday, Wednesday, and Friday evening. I usually do my running, biking, and stair stepping in the morning to give myself a break before the evening class.  Because of all the energy and calories being burned, I would definitely suggest hours in between this and a class or other workout! 


I started doing this about 4 weeks ago and am down 9 pounds!! I had a goal of 45 pounds to lose so now I'm down to 36 more pounds to go!! 


What are some of your favorite workouts?!

xoxo


Monday, October 29, 2012

Work your butt off for charity!

I came across the COOLEST, FREE iphone/android app and had to share!

It's called Charity Miles and every time you work out by walking, running, or riding your bike it donates money to a charity of your choice!!  Corporate sponsors donate 10 cents for every mile you bike and 25 cents for every mile you walk or run!

There are several charities to choose from including:
-Feeding America
-Autism Speaks
-Pencils of Promise
-Habitat for Humanity
-The Nature Conservatory
-ASPCA
-Achilles
-The Global Fund
-World Food Programme
-Michael J Fox Foundation

There is also an informational part where you can learn exactly what each charity stands for and what it does!


I think this app is such a cool idea and will definitely be using it!  I've been struggling with having any motivation lately so I think this will help- knowing you're working out is helping people in need!  You can always change charities too with each workout!

xoxo

Thursday, October 25, 2012

Photo Update!

Looking great in our wedding photos was my primary and mostly only motivator for working out and losing weight!  I didn't want to look back at our photos and think 'who's the elephant in the white dress' ..well, we finally got back some of our professional photos and I honestly must say I feel AMAZING looking at them!  I had to share a few :)


Now that our wedding is over and I don't have to stress about fitting in my dress and looking great, I'm going to need some different motivation!  I really don't want to gain the weight back.  I want to keep losing.  I worked too hard, for too long to just give up and not continue the progress and maintain.  Hopefully, life will be slowing down and I can finally post some awesome recipes I've tired that are great and super healthy! :)

xoxo

Saturday, October 6, 2012

DIY Photo Coasters!

I was on Pinterest when I saw a diy project for pretty scrapbook paper coasters but got to thinking that it would be just as easy and probably cuter to make coasters out of photos so that's what I've done and I just had to share it!!

Each coaster costs about .50 so they're super cheap, super easy and would be a GREAT holiday gift coming up!! I know I'm making several sets for my aunts and in laws! And they're personalized so people will LOVE them!!

What You'll Need:
4x4 Tiles (I found mine at Lowe's for 16 CENTS a single tile but I ended up buying a huge box of 80 of them for only $10 because I knew I would be making so many!)
Felt
Fabric Glue
Instagram Photos (click here: How To Print Instagram Photos for another post on how to get your instagram photos printed!  They're the PERFECT size for this project, no measuring, cropping or cutting photos needed!)
Mod Podge
Sponge Brush
Acrylic Spray (Clear) (this makes the coaster water resistant so the photos don't get ruined or curled)


What To Do:

** The reason this was SO EASY is because I didn't have to cut or crop any photos to the 4x4 tile- I had my Instagram photos printed as 4x4 squares so they fit PERFECT. For information on how to do that, visit my blog post about it:  How To Print Instagram Photos.  If you chose not to do that, just take any photo and cut/crop it into a 4x4 square!

1. Mod Podge the actual tile.  This helps the photo adhere better to the tile.

2. Place the photo on the center of the tile IMMEDIATELY after the tile has been 'mod podged' so the photo adheres better.  Then, cover the photo with mod podge. 

The mod podge will dry clear, just make sure you have an even coating and that all of the photo is covered.  Again, this will help it adhere better and stay 'glued' to the tile.  I did several coats but waited for each coat to completely dry before adding another coat to make sure it didn't get all 'gloopy' on me.  

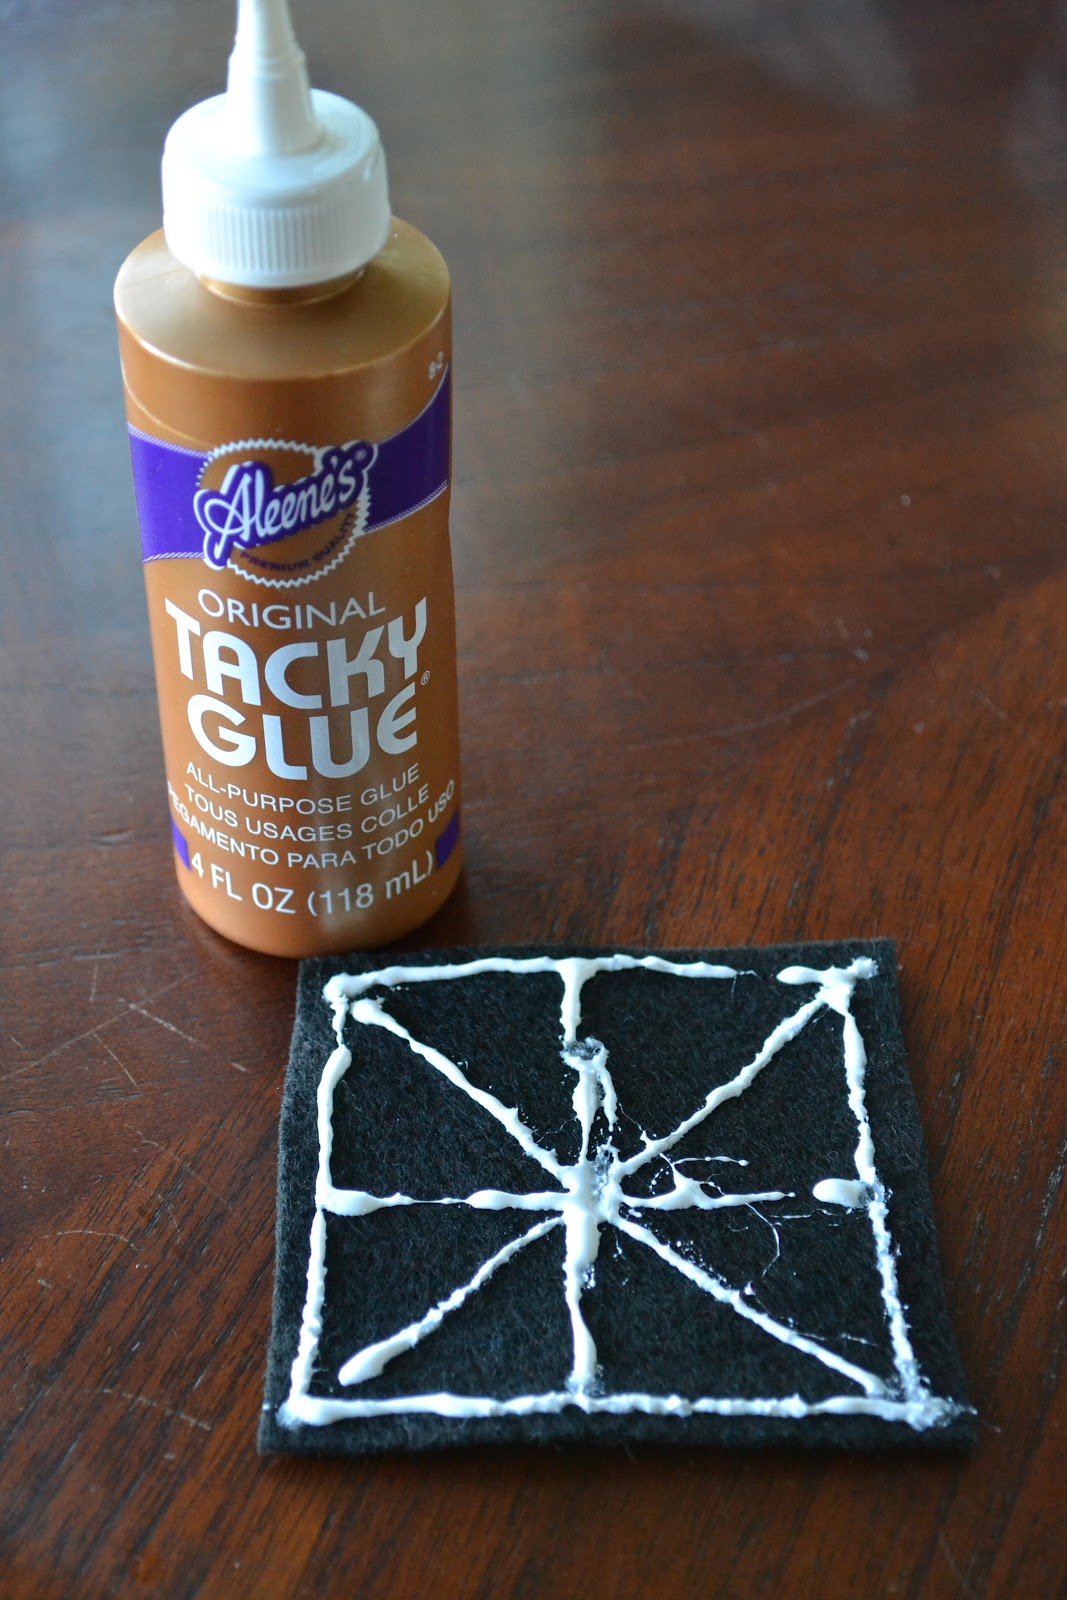
3. Apply felt to the back of the tile.  This will make sure the tile doesn't slip around on a surface or scratch it.  I used tacky glue on the felt and just stuck it to the back of the tile! I didn't specifically measure the felt, just kinda 'eyeballed' it. 


4. Last and finally, 'waterproof' the coaster by spraying it with clear, acrylic, water resistant spray.  This will make sure the coaster is water proof and keep the photo protected. I used Krylon clear, glossy spray.  Again, I did several coats of this but waited for each coat to dry before applying a new one.  


Ba-Da-Boom-Ba-Da-Bing you're done! That's it!! I told you it was super cheap and easy :)
I'm so excited to make these for Christmas for our friends and family! They're useful, personalized, cheap, and so easy! 

xoxo

Saturday, September 22, 2012

DIY Personalized Mug

You're welcome for this super easy and cheap DIY project!!


Basically, buy a dollar tree ceramic mug, plate, dish etc write whatever you want on it with a Sharpie marker (I used the thin, pen-like kind) and then just bake it in the oven at 300 degrees for 40 min so it becomes permanent and doesn't wash off!! THAT'S IT!!

Boom!! Easy & Cheap!

Also, when you're writing on it with the Sharpie, if you make a mistake, the Sharpie wipes off easyyy so you can make all the mistakes you want and no one will know!

I plan on using this for pretty much every kind of gift now- wedding gift, teacher gift (with their name on the handle!), birthday gift.. the list and ideas are endless!!

So again, YOU'RE WELCOME!

Hope you think this is as awesome as I do ;)
xoxo